The Brand Kit helps you define your project’s visual identity by setting fonts and colours that apply consistently across your pages. You can create and manage multiple brand kits to match different campaigns or brand styles.
STEP BY STEP
Steps to access your Brand Kit:
Choose your project from the homepage (if you have multiple projects).
Click on Settings in the dashboard navigation.
In the left panel, select Brand Kit.
You can: - Click on the default Brand Kit card to view/edit it, or - Click the + icon on the right to create a new Brand Kit.
Enter a name and description, then click Save.
To customise your fonts and colours:
Click on the Brand Kit card you want to customise.
Click Update at the bottom-right corner.
Under Typography, choose your: - Font Family - Font Size - Heading and Body text styles
Under Colours, you can: - Select your main brand colour - Use suggested colours generated by XTOPIA - Or add your own custom colour codes
Click Save to apply your changes
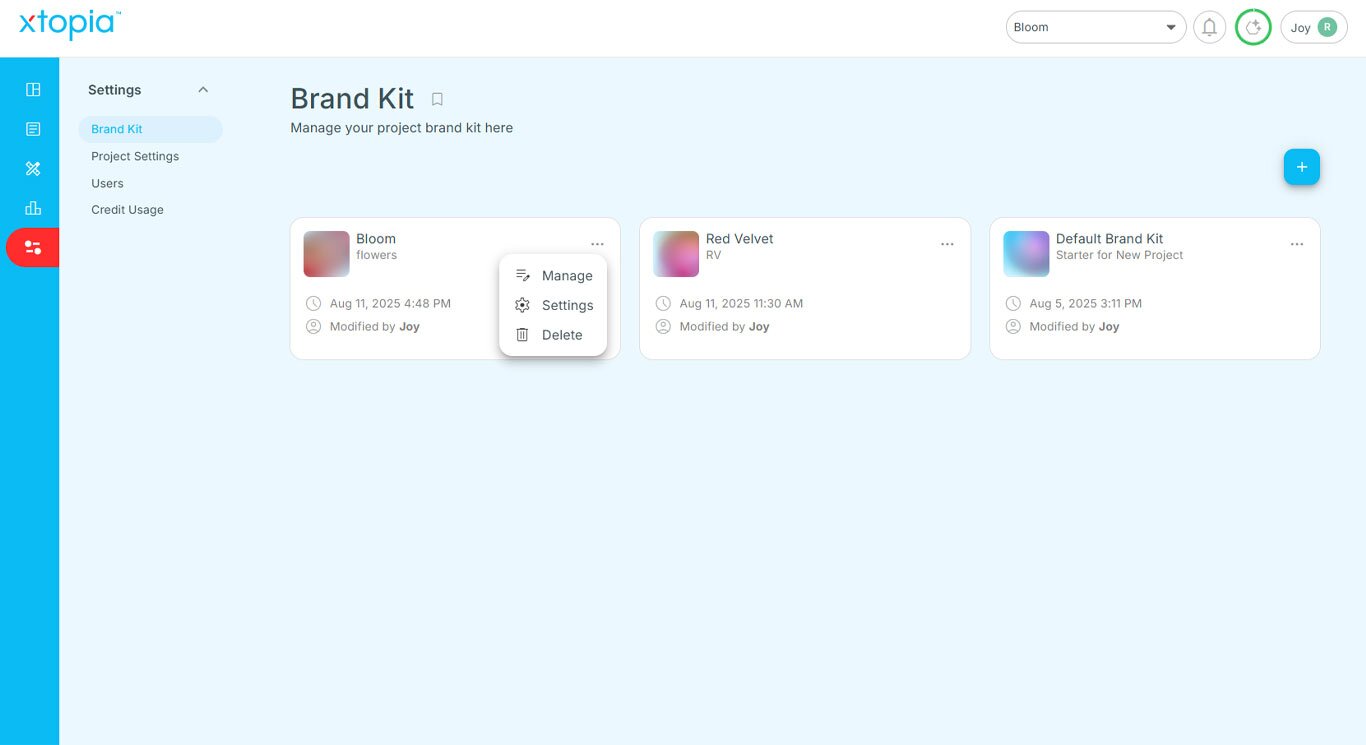
To manage existing Brand Kits:
Hover over the three dots (•••) on the top-right of any Brand Kit card. - Manage: Edit the Brand Kit’s name and description - Settings: Edit the font and colour choices - Delete: Permanently remove the Brand Kit from your project